
Part 4 of Creating your Interactive Smart Home Floor Plan

This episode is going to focus on integrating your smart equipment into HA and understanding how it is referenced/used. Make sure to follow along, because in the next episode we'll finally be able to put all this together and create our workable dashboard layout.
While there are multiple ways to integrate equipment, most will only work when integrated in a particular way. The info I'll share on this page will be generic or specific to what I have, and I'll trust to your own research skills for how to work with anything you have and I don't cover below.
If at any point you need to reference the previous episodes of the series, they can be found on this page.
What you need to continue
You've gone through and installed or enabled (at minimum):
You will also need:
- Your smart equipment
Moving your images into HA
HA will need to access and read all the floorplan images you've created. To achieve this, we'll move them into a folder in HA.
- Using SMB, access your HA folders and select
config>www

- Create a new folder called
floorplanand copy your images into it
Let's add some smart lights
I have lights which primarily use one of the following two types of connection method:
- WiFi
- Zigbee
Generally you'll find that if lights connects via WiFi, the integration method in HA is similar regardless of brand/model. Those that connect via Zigbee will also integrate in similar ways to each other.
Additionally, you may have lights which connect using either of those protocols, but connect to a hub (normally from the same manufacturer as the lights you have). If that's the case, you'll want to connect the hub to HA rather than the individual light.
WiFi Integration
The process for connecting your WiFi-enabled lights to HA is a little more in depth than with Zigbee or Z-Wave. Normally:
- Power on the light/bulb
- Open the manufacturer's app on your mobile device (check the packaging for QR codes/site addresses which show you how to download these)
- Follow the steps in the app to discover your smart bulb
- You will normally be asked to select which home WiFi to connect the bulb to, give your bulb a name, and which group or room to add your bulb to. Names and groups are at your discretion (though
Bedroom 1,Bedroom 2, and a group calledBedroometc. per room seems pretty logical for most cases) however make sure you connect to the same network your HA instance is on
Once you've done that, head over to HA, and you will need to do one of two things. Either:

- A notification will pop up which essentially says that HA has discovered the device and is asking you to configure it (image above, I don't have any active notifications which is why mine is cobbled together)
- Click the notification and it will take you to the
Devices & Servicesscreen, with your pending integration visible top left
Or:
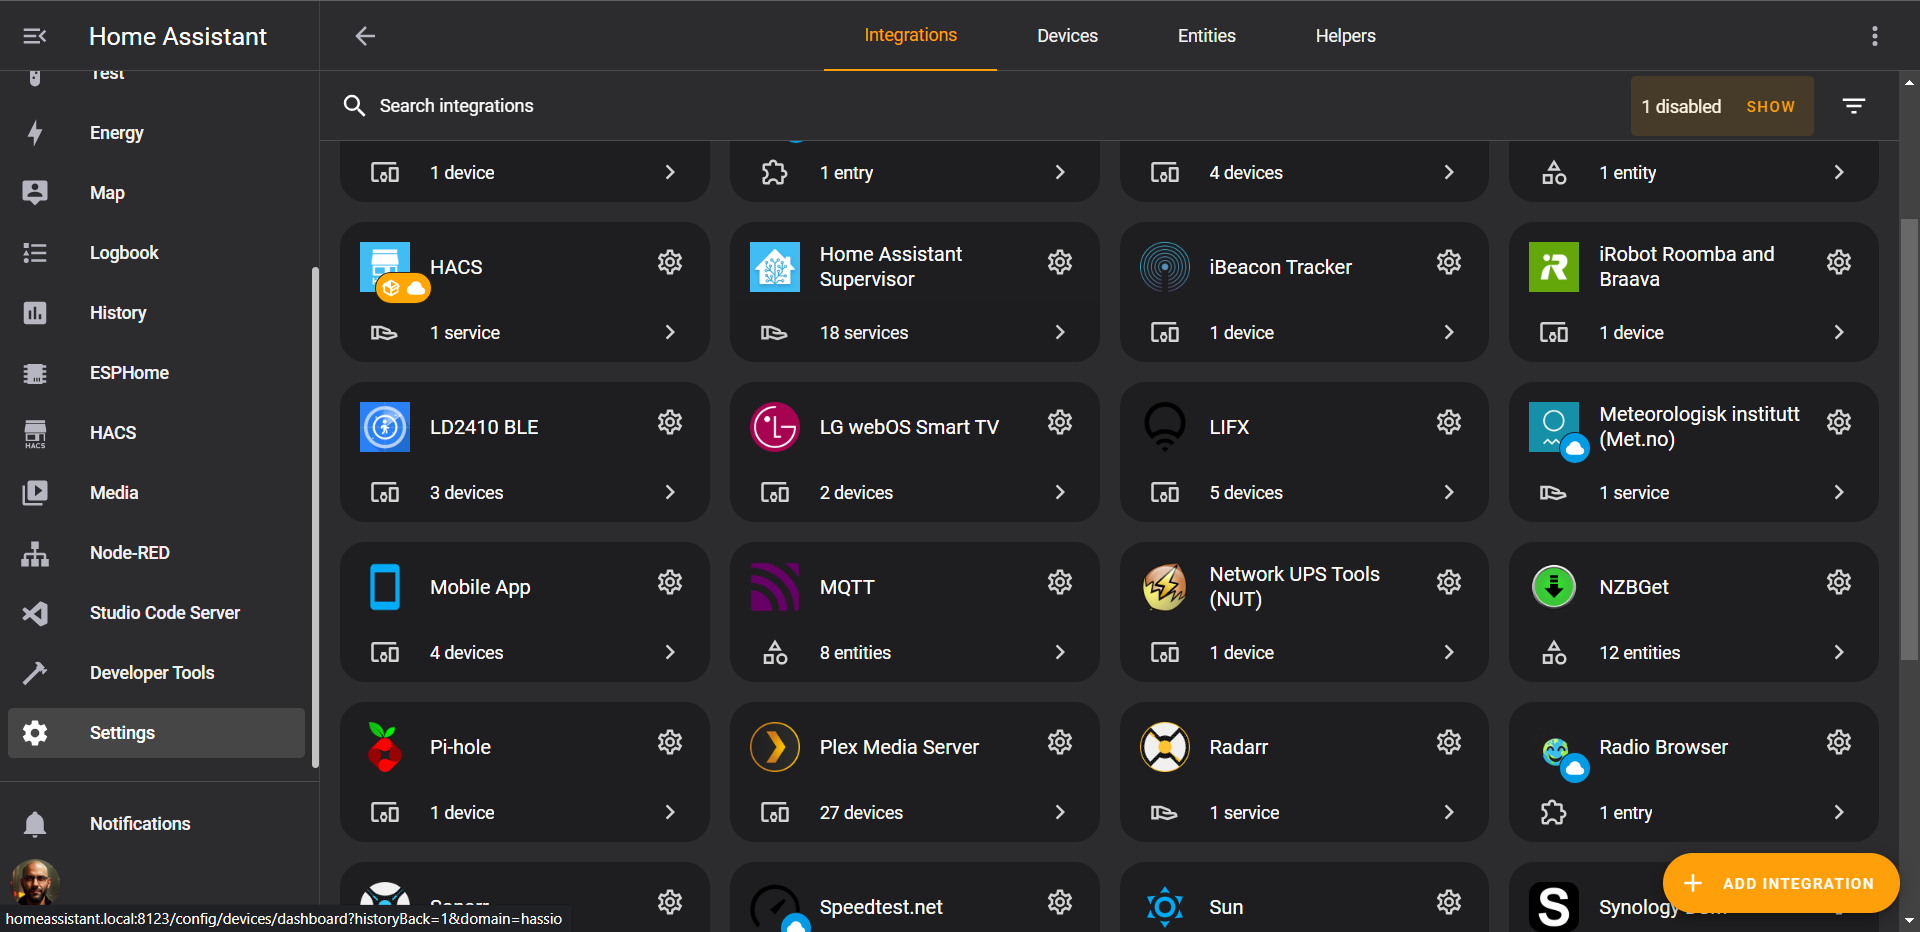
2. You will need to manually find the integration
For (2) above, you'll likely need to do something like:

- Go to
Settings>Devices & Services

- Click the
ADD INTEGRATIONbutton bottom right

- In the popup, search for and then select your integration, then follow the on-screen instructions
Most integrations walk you through what to do. Although Sengled has an integration listed, this redirects you to documentation which explains how to manually set up the integration from a github repo. I'm not going to do the whole thing, but it's the documentation is clear:

- Installation is via HACS

- There are a couple of lines of code to add to the
configuration.yamlvia Studio Code Server
Zigbee Integration
This is more straightforward, though you do need a Zigbee coordinator (such as a dongle or Sky Connect).
- If you haven't already, head over to
Settings>Devices & Services, thenADD INTEGRATIONand selectZigbee Home Automation(also referred to online as ZHA)
Once the coordinator has been configured:
- Supply power to your Zigbee-enabled light bulb which should automatically make it discoverable (check your smart light's documentation if you're not sure about this)

- Back in
Devices & ServicesclickADD INTEGRATION. You should now have an option toAdd Zibgee deviceat the top

- Click it to take you to the next screen which will search for your device
- You should see the service discover, handshake and add your device

- Once added, your devices will show up under your Zigbee integration
Congrats, you've now got some lights set up
Controlling and naming your lights/entities
The following is the same regardless of whether you've added a device via WiFi, Zigbee, Bluetooth or some other protocol:

- Click into one of your lights from the
Devicestab - Click the pencil icon at (1) and rename your device
- It should ask you if you want all entities to reflect this, I normally want this
- Note that at (2) you have a toggle control to turn your light on and off

- Clicking the bulb icon or the name at (2) will open more fine control of that bulb, depending on what its capabilities are, and will also give you additional settings options
- Click the cog button top right

- This gives you various options to rename the light, change the icon used for the entity, and rename the
Entity ID - You can also enable/disable, hide/make visible and use the device area for this entity
domain.device_name. This domain is how HA knows what the entity is, so you'll see things such as light.dining_room, sensor.bedroom_temperature and device_tracker.mobile_app. The domain is very important, so don't change the light portion of the Entity ID aboveGrouping lights together
Groups are a great way to have multiple lights in one area, room, floor or home react to a single switch, command or automation. Think about the rooms you have and the smart lights you have in those rooms to figure out how best to group them. When you're ready:
- Head over to
Settings>Devices & Scenes

- Click
Helpersat the top right - Click
CREATE HELPERbottom right, selectGroupin the options list popup, thenLight group

- On the next screen, name your group and add the Member devices/entities
Add your sensors to HA
Again there's no single way to do this, it very much depends on what you've got.
ESPHome and ESP32 with temperature/light sensors
As mentioned in Part 1, I use a Dallas temperature sensor and a BH1750 light sensor with an ESP32.
The below link has additional information and links on how to get started.


Bluetooth sensors
If you have sensors which communicate via Bluetooth (such as the LD2410B Presence and Motion sensor) you will need to make sure your system supports Bluetooth, either natively or with a dongle (again see notes on this in Part 1). You add the Bluetooth integration in the same way as any other integration - ADD INTEGRATION and search for Bluetooth.
Creating our sensors to tell the different times of day
We require these software sensors to automatically change your dashboard image to the correct times of day. There are a number of ways to do this.
Using Helpers
Probably the way people like the most is to use the HA gui to make multiple binary_sensor helpers:
- Go to
Settings>Devices & Servicesthen clickHelperstop right

- Select
CREATE HELPERin the bottom right corner, then chooseTimes of the Day Sensor

- Name it
Morningand add yourOnandOfftimes - Click
Submitthen do the same forAfternoon,EveningandNight

- Click into your
Overviewdashboard and you should see a section calledBinary Sensorswith your newly created times of day sensors, with the correct one set toOn
Creating a binary sensor template
- In HA, open
Studio Code Editor

- Add a file to the root config level and call it
sensors.yaml - Copy and paste the below code into it
- platform: template
  sensors:
    time_of_day:
      friendly_name: "Time of Day"
      value_template: >-
        {% if is_state('binary_sensor.morning','on') %}
          Morning
        {% elif is_state('binary_sensor.afternoon','on') %}
          Afternoon
        {% elif is_state('binary_sensor.evening','on') %}
          Evening
        {% else %}
          Night
        {% endif %}
- Add another file to the same config directory, and call it
binary_sensors.yaml - Copy paste the below code into it:
- platform: tod
  name: Morning
  after: sunrise
  before: "12:00"
- platform: tod
  name: Afternoon
  after: "12:00"
  before: "17:00"
- platform: tod
  name: Evening
  after: "17:00"
  before: "19:00"
- platform: tod
  name: Night
  after: sunset
  after_offset: "-01:30"
  before: sunrise
This makes use of a built-in HA entity sun.sun which will automatically update sunrise and sunset times in your locality
- Change the times as makes sense for you and your part of the world
- The
after_offsettells the sensor thatNightstarts 1h30m before sunset
We need to now tell our HA configuration.yaml to use these new sensor files:

- Select
configuration.yamlinStudio Code Server - Where it has
automation: !include automations.yamltowards the top, add the following two lines:
binary_sensor: !include binary_sensor.yaml
sensor: !include sensor.yaml
Finally:

- Head over to
Developer Tools, make sureYAMLis selected in the top ribbon, then clickALL YAML CONFIGURATION
Now if you go to your Overview tab, you'll see that you have the same as before, but this time the night and morning sensors will change depending on sunset and sunrise times.
Nearly there!
So we've added lights. We've added sensors. We've added whatever we've got, we know their names and their Entity IDs.
Part 5, Episode 5: The Dashboard Strikes Back is on its way...
Related Articles
 PTS
PTS PTS
PTS PTS
PTS PTS
PTS